|
GARMIN COMPATIBLE MAP INSTALLATION INSTRUCTIONS This page provides detailed instructions to install our Garmin Compatible family of GPS Maps. You will find the following options: Please follow them as described to assure that the map is properly loaded to your device. The Pre Loaded Card Package includes a MicroSD card where the map is loaded, a MiniSD adaptor and a full size SD adaptor. If your device has a MicroSD slot such as the Etrex X, 60C(S)X, 76C(S)X or Colorado series, insert the supplied MicroSD card into the slot. Follow your owner's manual instructions to insert the card. Turn on the GPS and the map will be ready for use. If your device uses a full size SD card, such as the NUVI and StreetPilot series, first insert the MicroSD card into the full size adaptor. Then load the assembly into the SD card slot in the GPS. Make sure that the device is turned off when loading the card. Once inserted, turn on device and the map will be ready for use.
Mapsource Compatible Installer Instructions IF MAPSOURCE IS ALREADY INSTALLED IN YOUR PC Just install the map by following the instructions. It can be obtained by following these steps 1. Download and install the software called "GARMIN TRAINING CENTER" which is a simple version of Mapsource, from the next link http://www.bicimapas.com.mx/MapasGPS/DNLD/TrainingCenterForWindows_343.exe Select "Save" and a location within your PC to store the file. We recommend to use the Windows desktop to ease finding the file.
After the installation is finished close the Training Center program.
2. Install the latest Mapsource update that you may download from Garmin's website in this link http://www8.garmin.com/support/download_details.jsp?id=209
Select "Save" and a place to store it in your PC. We recommend to use the Windows Desktop so that it will be easy to find after the download. Once it is stored in your PC and making sure that Training Center is not running, find and double click on it to decompress the file. Then double click the decompressed file to start the installation process. Follow the instructions exactly as indicated.
1. Download the GPS Atlas series map you purchased form the link you received from BiciMapas' Customer Service or have your CD ready if you purchased this option. 2. Get the unlock key you received from BiciMapas' Customer Service and have it handy. 3. Make sure Mapsource is closed. 4. Go to the folder where you save the Map download or to the drive where the CD has been inserted. Double click the file MapNameVXX.exe where "MapName" represents the name of the product you purchased (MexicoGPSAtlas, HBB_ (Himalaya), LatinoAmericaGPSAtlas, etc.) 5. Follow the installer instructions
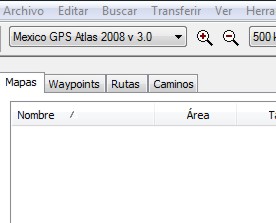
6. Once the installation is finished, close the installer. 7. Run Mapsource 8. On the top left, select the Map just installed from the drop down menu. Note: The images are from the Spanish Version of Mapsource but the tools and menu locations are the same in the English version
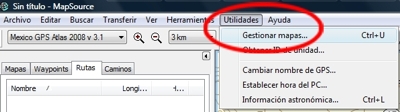
UNLOCKING THE MAP USING MAPSOURCE 6.14.1 AND AFTER 1. In the main Mapsource screen select “UTILITIES” and "MANAGE MAPS" (first option under Utilities)
2. A window with 2 tabs will show. Select the SECOND TAB NAMED UNLOCK REGIONS (In the image below, you can see its Spanish version but is equivalent to the English version of Mapsource). Once you are in the UNLOCK REGIONS TAB, press the “ADD” button (shows as "Agregar" in the Spanish version, but you will see the ADD word in the English version)
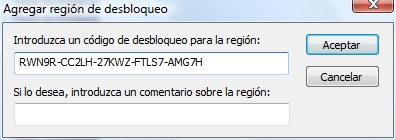
3. In the window that shows, enter the unlock key we provided and click OK
The Map is unlocked and ready to use. Close the Manage Maps window.
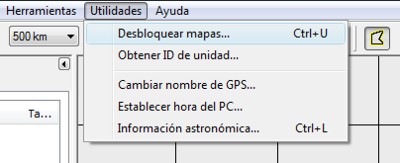
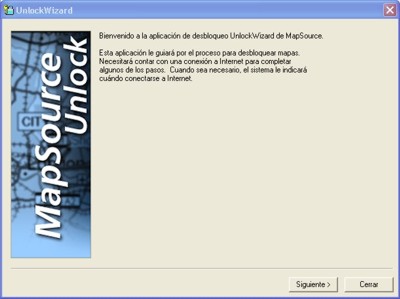
Unlocking the map with Mapsource versions 6.13.7 and previous 1. The unlock wizzard shall start automatically. If not, go to Utilities/Unlock Maps
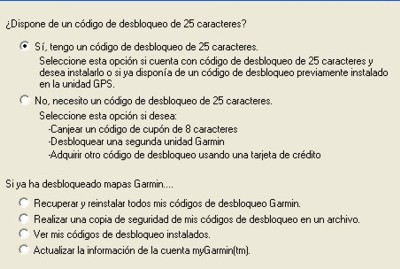
2. Press the "Next". Make sure that the top most option is selected. Press "Next".
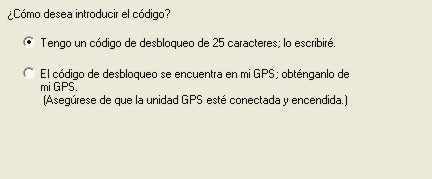
3. In this screen make sure that the top most option is selected as well.
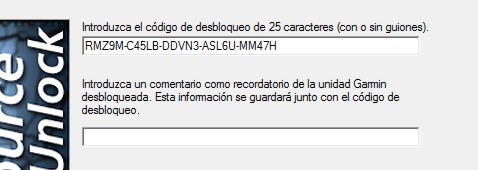
4. In this screen, copy the unlock key provided by BiciMpas and paste it in the upper line. Press "Next"
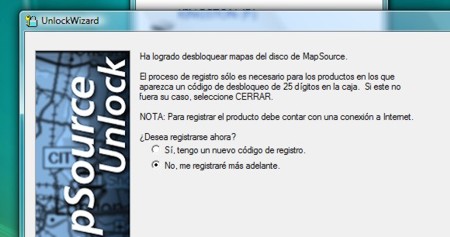
5. Answer NO when prompted to register in Garmin.
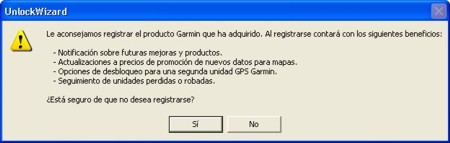
6. Confirm that you will not register by selecting YES
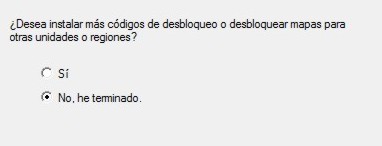
7. Select "I am done" and "End"
8. The map has been unlocked and you should see the full detail for the region purchased.
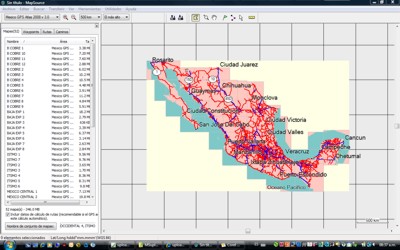
1. Select the map from the drop down menu of the top left side of the Mapsource screen.
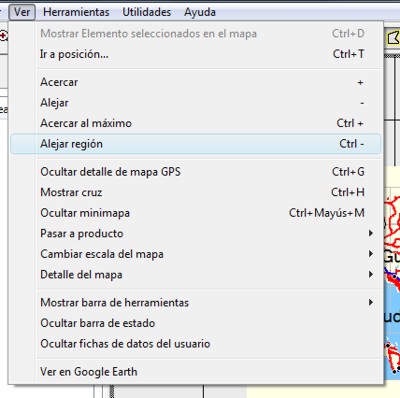
2. Go to the View menu and select Zoom Out Region. This will assure you can see the full map.
3. Select the Map Tool
4. To load the full map, drag a rectangle that selects all of it. The tiles to be uploaded will turn pink with a yellow border.
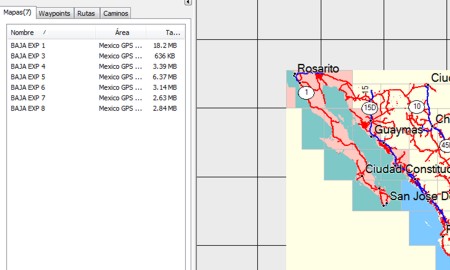
5.To upload a specific region, select those tiles matching the region you purchased.
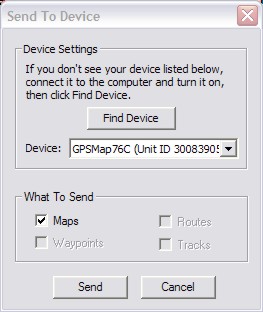
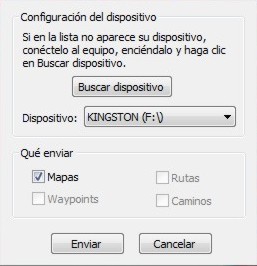
6. Connect the GPS to the PC and turn it on 7. Select "Send to Device". In the Window you shall see your device model. The Maps option shall be selected.
8. In the case of a NUVI, Oregon, Colorado, Dakota and Zumo model, you will have the choice to send the map to the card instead of the main memory. We strongly recommend to send it to an SD card. The Maps option shall be selected.
9. Press "Send". The process will take form 10 to 20 minutes depending on the product purchased.
|